Mar 16, 2009
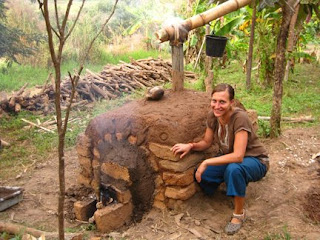
Welcome to low-tech charcoal production. You can make an earthen kiln to produce Bio-Char. Using ground charcoal as a soil amendment is proving to increase yeilds and sequester carbon among long lists of other positive benefits. We should all be adding it to our gardens and compost as the ancient cultures of the Amazon did. In the areas of the rainforest where this was practiced, there are still several feet of topsoil, also known as Terra Preta.
Google it if you're interested to learn more.
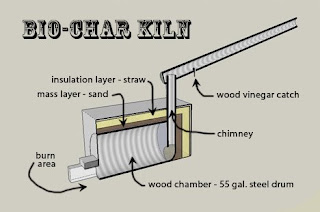
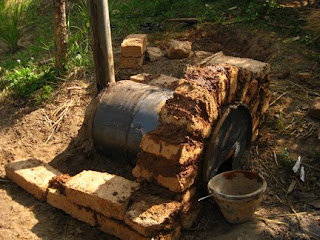
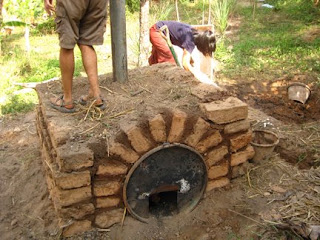
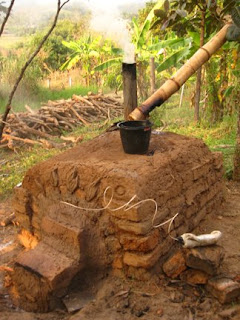
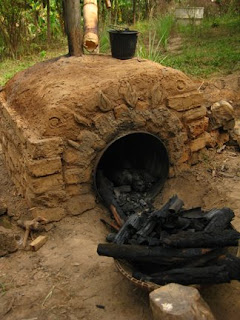
Now, for the earthen building part, this diagram I created shows the basic layers and features of the kiln and the following photos show how we built one.
We even added a thermal probe to test the temperature fall-off of the kiln and to ensure the quality of our charcoal. In Thailand, charcoal is often used for cooking because it smokes less and also for water filtration. This is an extremely important product in developing countries.
Then we grind the charcoal to get a small particle size.
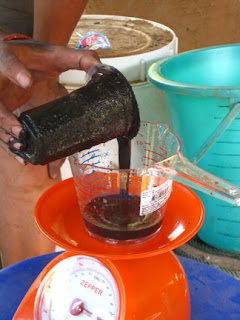
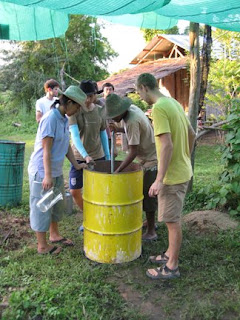
adding wood vinegar to speed up the activation.
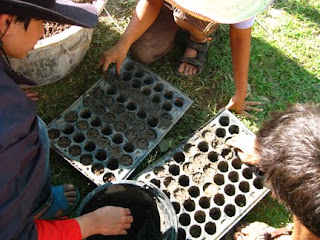
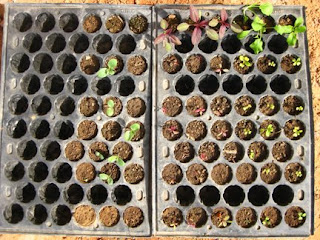
We measured out different ratios to test the effects of Bio-Char on seed germination.
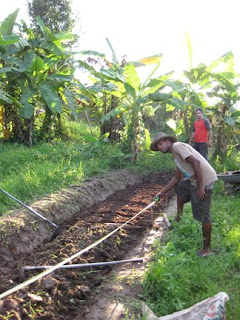
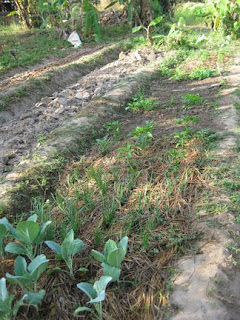
We also planted test plots where we could compare the growth of Bio-Char amended soil and without.
We planted the same plants on each side of the test plot.
There will be an article in Permaculture Activist soon with the results of this study.
Mar 16, 2009
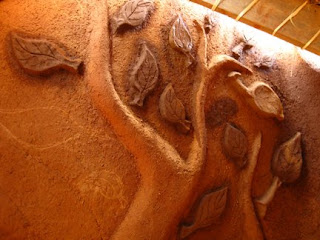
Sculpting the 'giving tree' in Tahn's room.
The luckiest four-year-old ever!
Trim detailing with burlap stapeled to the frame for a
mechanical connection with the plaster to wood.
Lime in the shower area.
Burnishing with balled up plastic bags to get a super smooth surface.
Reclaimed tile set into an interior arch sill.
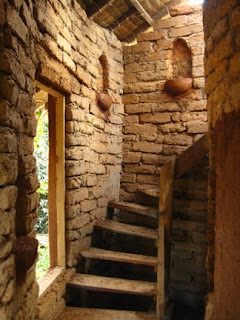
The stairwell niche.
Making clay paints with tapioca starch paste.
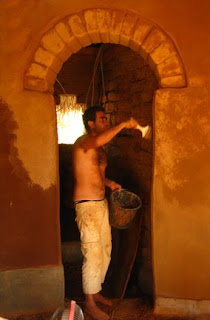
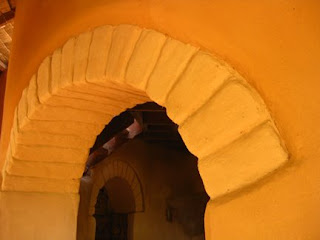
Beautiful arch detailing so that you can still tell they were made from adobes.
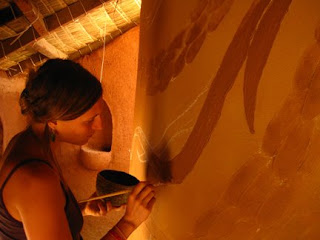
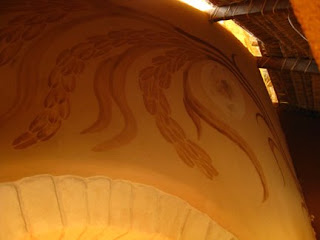
A clay-paint mural I did in the entryway of Peggy and Jo's new home. It is based on a Thai proverb about the rice in the moon and the fish in the pond.
Dec 30, 2008
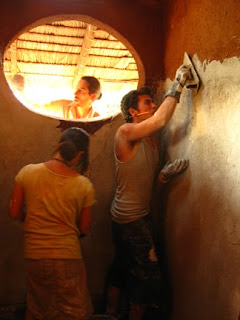
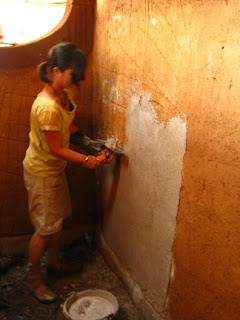
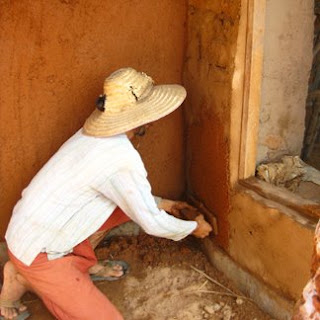
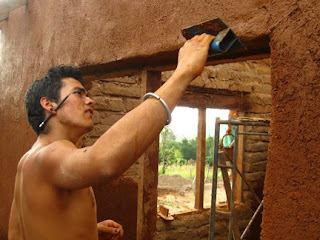
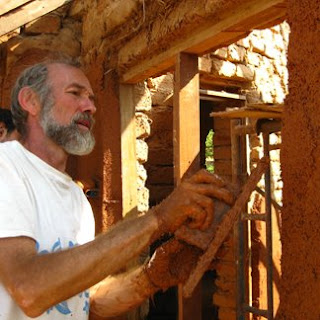
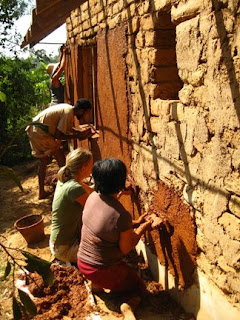
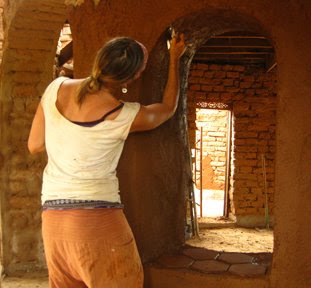
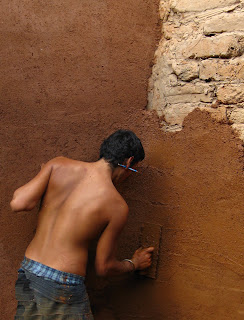
The form of the building is almost complete and now for the artistic part! It's time to plaster the mud brick walls to help protect them and add strength and beauty to the building. First we learned about the different components that go into earthen plasters and the purpose of each layer: base or scratch coat, and finish coat. The clay we are using is a beautiful red, so the exterior will be plastered with a rough coat only for the time being. The mix for this one is 4 clay: 3 rice husks: 1 sand and water as needed (if the clay wasn't pre-soaked, it was about 4 in that ratio). On the interior we will have at least two coats, and a lime paint in some areas. We are also carving niches and doing a bit of sculptural work on the interior.
Creativity abounds!
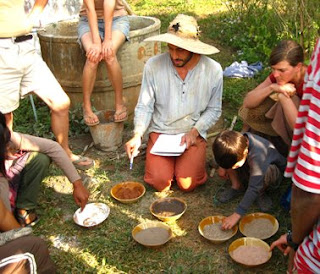
Learning (through all the senses) about our materials
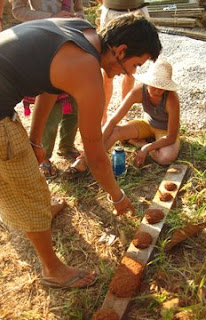
making sample "cookies"
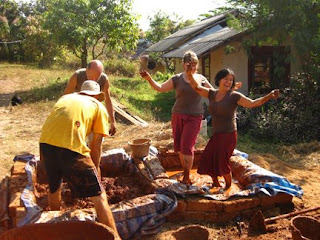
the mudpit dance
Teresa and Martha really know how to work it!
Stevan shows us how it's done.
Benito window detailing
Peter builds up a corner
how many plasters can you fit on a wall?
the underside of the arch is the trickiest part!
Benito Steen really knows plasters and it's great to have him as out instructor
Oi carves a niche
three niches follow the stairs--
simply can't to plaster these, stay tuned for more pictures!
Dec 19, 2008
I was invited to teach a cob oven workshop at the Wildflower Home, a center for young mothers in crisis, whose mission is to help lead these women towards self-reliance.
I was quite nervous to be teaching in a foreign language, but it went quite well leading by demonstration and the women had a total blast.
Dec 19, 2008
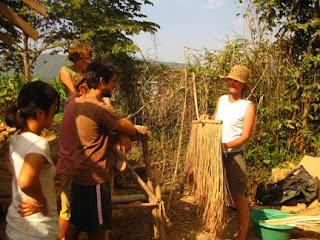
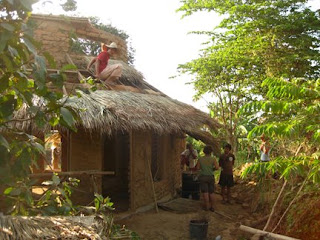
Peggy teaches us about the local grasses used for thatching. This is by far the most common way to roof your home in this part of Thailand.
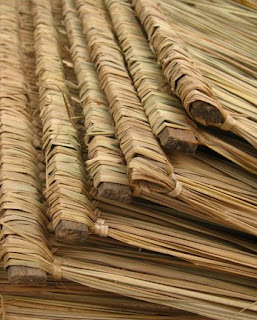
The grass is wrapped around a piece of split bamboo and tied tightly to it.
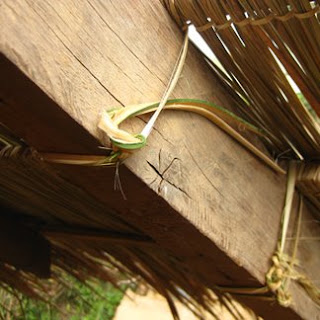
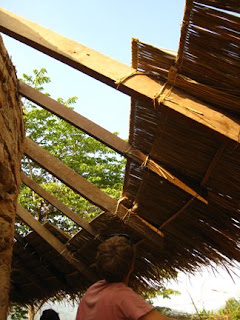
We use strips of bamboo to fasten each section of thatch on to the roof framing.
We thatch from the bottom up, each layer is about 4 iches above the previous row.
Thatch is a great way to roof in the tropics because hot air that accumulates in your home can natural vent out, while any rain that hits the material will run along the blade of grass and drip along the edge only. This system lasts quite long, the thatch will only need to be replaced about every five years.