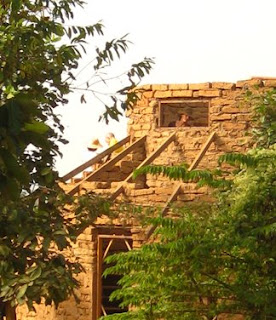
the roof takes shape

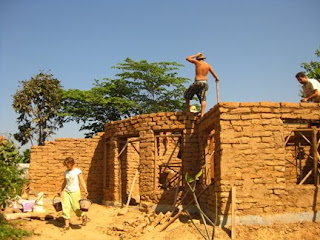
sitting on the top of the wall while installing rafters

Jackie, adding notches when needed

the framing is built directly into the mud brick walls




the roof takes shape
sitting on the top of the wall while installing rafters
Jackie, adding notches when needed
the framing is built directly into the mud brick walls

spreaders buried at the end of each joist
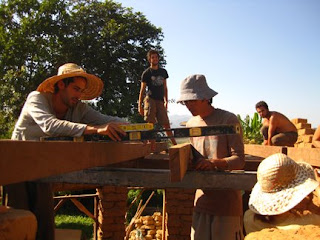
leveling the joists
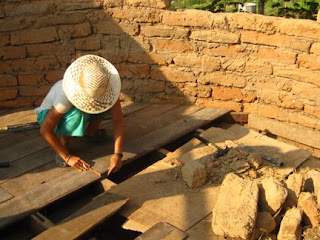
fitting each floorboard
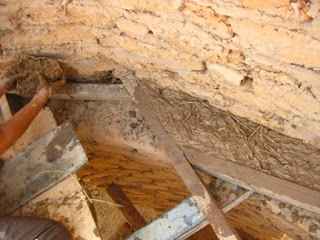
packing the space behind the blocking with clay straw

a beautiful reclaimed wood patchwork floor
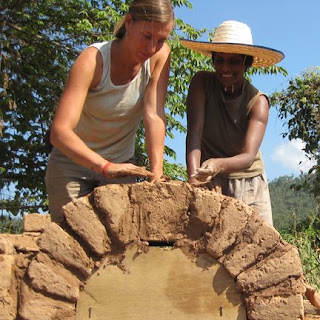
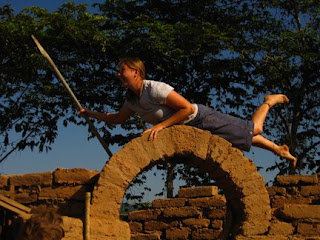
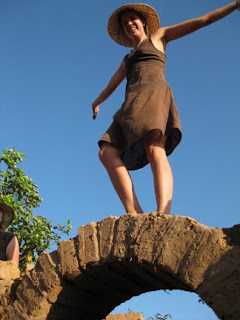
Probably the most fun aspect of using adobe is building arches. These make great door and window openings. And they the surprisingly strong and can bear a lot of weight. First, build a wooden form and support it at the level you want to start the arch. Then as you build arch the form, use a string attached to the center point to keep track of each brick's alignment.

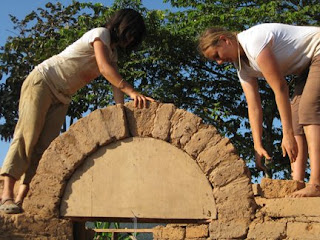
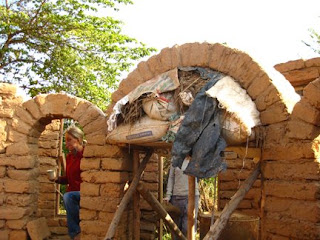
You can also use stuffed bags to build a form.
In the case of our largest arch, that worked just fine!

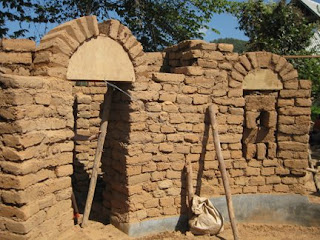
Testing them out once they are dry is so much fun!
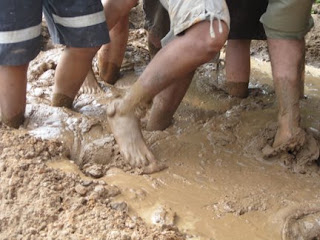
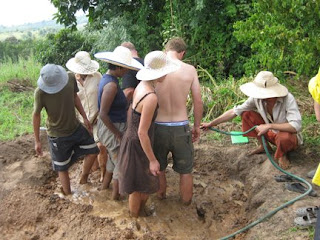
Welcome to the mudpit! The great thing about adobe bricks is that it's really easy to make the mix. You can use the clay in just about any hole you dig on the property and since we will be using a form to make the bricks and letting them dry in the sun, we don't need to worry about too much moisture in the mix. Thus, the pit becomes a creamy slurry and only requires simple walking around in it to mix well. This is also the same way we mix the mortar! For the brick mixture however, it is good to add a fiber component if you have one available. Adding fiber such as straw will increase the strength of the bricks and also make them more light weight. We added rice husks once we could get them.
Each brick will be 4 x 8 x 16 inches, so that we can use them in a variety of different positions. Packing the mud into forms...
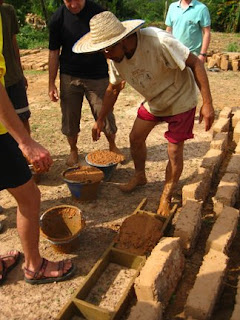
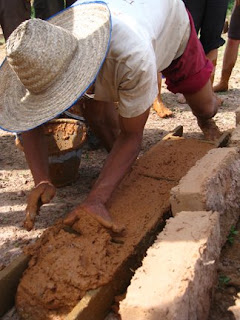
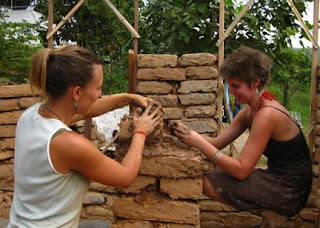
Staring to lay the courses...
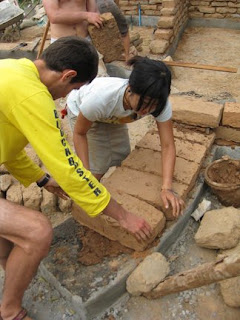
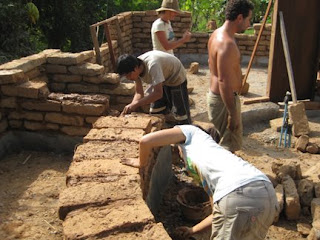
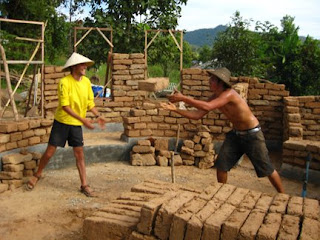
And probably the hardest part of it all... getting the bricks from the brickyard to the building site! We make it a group effort and have about 30 minutes of passing brickis on a 'brick line' each day.

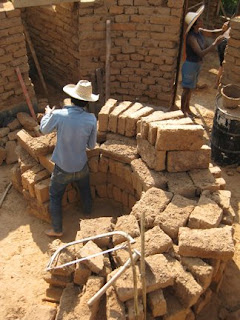
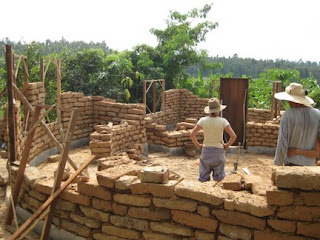
The building takes shape!
Pouring your own foundation isn't as hard as it might seem. Here we created our foundation in less than a week. First we cleared the site and leveled the footprint area. Then we tamped the earth solid using garden hoes and a big log with handles attached to it.

Then we marked out the wall's locations using a peg with a rope attached for the circular portion of the house and the pythagorean theorem (a^2 + b^2 = c^2) for the extensions. We set up battens with string to mark the edges of the walls and then excavated a trench 15cm deep for the footings. (No need to worry about frost-heave here!)

In Thailand, plywood is a precious commodity, so we built our forms for the foundation stemwall using old adobe bricks lined with feedbags. What's great is that they support themselves so no hardware is required and they can be reused for building with later.

Then came the not-so-fun part, mixing concrete, but it can be fun if you have a lot of people and don't have too much to do of it. We set up a bucket brigade to supply the right ratio of sand and gravel that we would add to the cement. Onward!

Once the concrete was thoroughly mixed, we poured it into the forms. The next day, we removed the bricks and two days later we'd be building walls.
